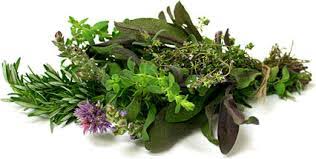
Mixed Culinary Herbs
Culinary herbs are easy to grow and no matter how large or how small your garden, even if it is just a window box.
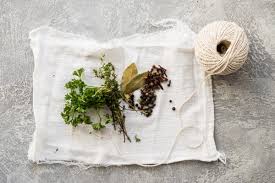
Bouquet Garni
You can enjoy the added bonus of fresh herbs in your cooking, here are the top easy to grow favourites, which appear in many dishes.
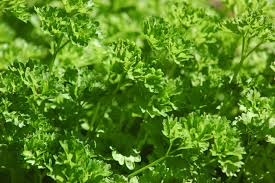
Curly leafed Parsley
Curly leafed Parsley (Petroselinum crispum): A universal herb, possible the most widely used in Britain, from stews to salads or the last flourish as a garnish, it has a crisp fresh flavour. An easy to grow biannual, sow directly into drills in a moisture retentive soil in dappled shade to gentle sun, from April to August. Thin with care. The younger leaves of the first year are the most tender, remove flower spikes to length the cropping yield. To help continue harvesting into the late autumn, cover with a clouch. Also the harvest can be lengthened by cutting the remaining leaves at the end of the season and either freezing them or drying in paper bags hung in a warm space like a linen cupboard.
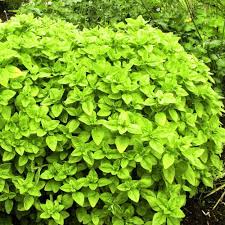
Marjoram vulgare
Marjoram (Origanum vulgare): A strong favourite in Italian cooking, with it’s distinctive flavour. From cooking fish to vegetable dishes and what rich tomato sauce would be complete with out it. A vigorous low growing preannual, grows well in any free draining soil, in full sun. It’s flowers are much enjoyed by butterflies and its pretty purple flower heads can turn great sections of poor chalk down land a rosy purple hue. Dries well, use the same method as above.
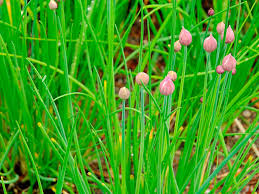
Chives
Chives ( Allium schoenoprosum); This delicate flavoured member of the onion family is a must in many dishes from potato salads to garnishing spring and summer soups. The flowers can also be used in salads. This preannual seeds freely, and will seek out pavement cracks. Grow in full sun in most soils except very wet ones. To lengthen the harvest freeze.
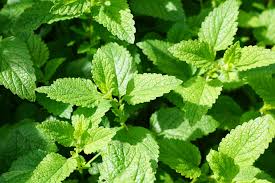
Mint
Bowles Mint ( Mentha x villosa nm. Alopecuroides): A wonderful herb this it just one variety out or a cornucopia of different flavours and colours, but according to Edward Augustus bowels who it is named after, this is the variety that makes the best mint sauce. As with all mints they can be vigorous thugs, plant them in open ground at your peril. So always plant in a good sized container, grow in good moisture retentive soil and in dappled shade. To lenghten the harvest, dry as above.
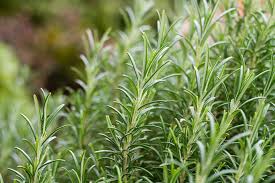
Rosemary
Rosmarinus officinallis: This is the common Rosemary, producing a strong growing evergreen shrub up to 1.3m in height and at least the same in width. Grow in free draining poor soils in full sun. This aromatic herb can be used to flavour both meats and puddings.
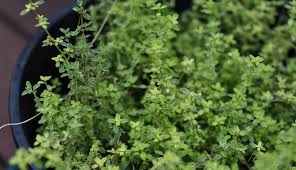
Thymus
Thymus vulgaris: the common thyme, a wonderfully versatile herb, a staple of a wide range of Mediterranean cuisines, from fish, meat and vegetable dishes and also adding a fragrant note to puddings and sweets. A low growing evergreen herb, it will grow well in most poor soils in full sun and has a mass of pink/purple flowers in mid summer.
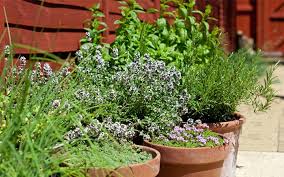
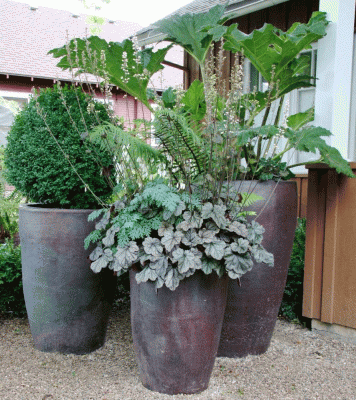
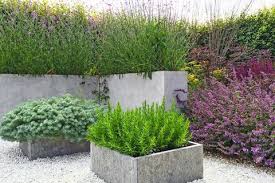
pots of Herbs
This selection of herbs would be my starter kit of culinary herbs, all can be grown in pots, in fact apart from the Rosemary I would in courage this as it means the herbs are above cat and dog level. Culinary herbs are best as close to the kitchen as growing conditions will allow, so you can pop out and harvest them mid cooking.
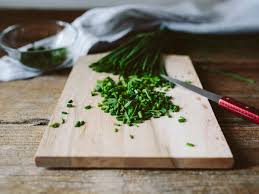
cooking with herbs
Growing herbs is easy and can be achieved in little to no space and most important of all, fresh herbs can bring an extra dimension to your cooking. Enjoy!